Definition
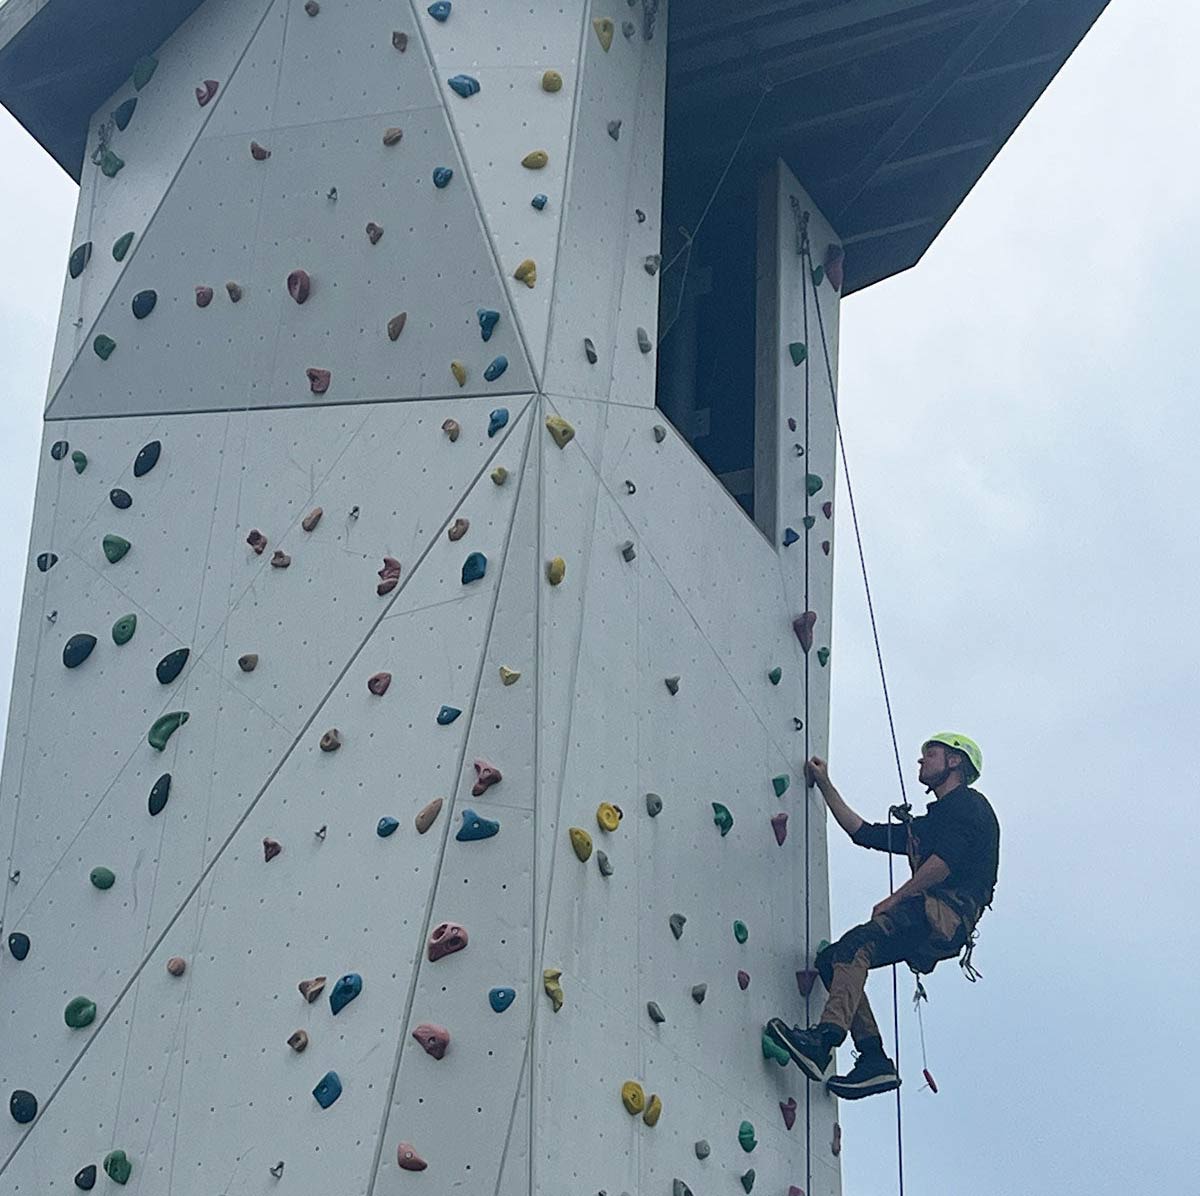
In simple terms, bouldering is climbing without ropes on large boulders or rock-like structures. It’s characterized by the freedom of climbing without being burdened by a lot of gear, relying solely on your body weight and technique. Typically, bouldering involves climbing walls up to about 4.5 meters high, with thick mats underneath to cushion falls. Each climbing route, known as a “problem,” varies in difficulty, ranging from large, easy-to-grab holds suitable for all ages to tiny, nearly imperceptible grips that require years of experience to master.
Before You Start
The only essential gear you need to start bouldering is a pair of climbing shoes. Regular training shoes won’t do the job because climbing shoes have a special sole and fit designed for grip and support on small holds. Most bouldering gyms rent climbing shoes, so you can try the sport without buying anything initially. If you’re thinking about purchasing your first pair, check out our guide later in this post.

Where to Try Bouldering?
Bouldering facilities are available in many Danish cities, and even some local gyms have built bouldering walls. A quick Google search can help you find nearby locations, or you can check out these popular spots:
- Aarhus Klatreklub
- Aarhus, Odense, and Copenhagen Boulders
- Aalborg Klatreklub
- Boulder Hulen - Esbjerg
- Herning Klatreklub
- Kolding Klatreklub
For more locations, visit klatresteder.dk
In Aarhus, Odense, and Copenhagen Boulders, you’ll find climbing opportunities for all levels. You don’t need prior experience or a seasoned climber with you. Just drop by one of their gyms, and the staff will get you started. New members can even take advantage of a free 3-week introductory course. While joining a course isn’t necessary, it can be a great way to kickstart your social life in the climbing community. Climbing clubs have a strong social aspect, and you’re likely to experience a unique camaraderie. Many people start solo and quickly find a sense of belonging in the inclusive climbing culture.
What Gear Do You Need for Bouldering?
If you’re just toying with the idea of trying bouldering, you don’t need to spend any money on gear right away. As mentioned above, most bouldering gyms rent climbing shoes for a minimal fee. So, there’s no need to buy a pair of climbing shoes before your first visit.
Let’s say you’ve sorted out your footwear. Beyond this, if you plan to continue bouldering beyond your initial trial, it’s recommended to get some chalk. Chalk comes in various forms: liquid, balls, blocks, or powder. It's a matter of personal preference. For beginners, I found it easiest to start with chalk powder in balls. You just place a chalk ball in a chalk bag that you wear around your waist. Chalk your hands thoroughly before climbing; it helps you get a better grip and prevents your hands from getting sweaty and slippery.

Your First Pair of Climbing Shoes
Choosing your first pair of climbing shoes can feel like navigating a jungle. There’s no single, definitive guide that all climbers agree on. However, since climbing shoes significantly impact your climbing experience, here are some general tips to consider:
- Opt for All-Round Shoes: Your first pair should be versatile.
- Fit Tightly but Comfortably: They should be snug but not painful.
- Look for a Thick Toe and Durable Rubber: A good, thick toe made of sturdy rubber is ideal.
- Ensure Solid Forefoot Support: They should provide good, stiff support in the forefoot.
- Consider Velcro Closures: Velcro makes it easier to put them on and take them off.

How to Get Started with Bouldering
Once you’ve got your gear and found a location, you’re ready to start bouldering. We recommend a thorough warm-up. Bouldering engages muscle groups not typically used, leading to soreness quickly. This can be mitigated with proper warm-up and stretching afterward. Begin by shaking out your arms and legs to get the blood flowing. Rotate your wrists by clasping your hands together. It's also important to stretch larger muscle groups thoroughly. Here are five stretches we recommend for both warming up and cooling down:
- Pigeon Pose: Great for stretching your hip flexors, which can be quite tight. Increase your flexibility by sitting in a cross-legged position and leaning sideways over one leg while stretching the other. Hold for about 30 seconds per leg. You don’t need to perform extreme yoga moves to benefit from this stretch. Here's a video on how to do it correctly.
- Arm Rotations: Crucial for warming up your arms. Stand up and slowly rotate your arms in circles, first clockwise, then counterclockwise. Start with small circles and gradually make them larger. Alternate between thumbs-up and thumbs-down positions.
- Walking Lunges: Start standing straight, then step forward with your right leg, lowering your hips to the floor slowly and in a controlled manner. Both knees should form 90-degree angles. Repeat with the other leg for 10-20 steps each.
- Leg Swings: Loosen your hip flexors and warm up joints and muscles, enhancing your range of motion and mobility. Keep your hips level throughout.
- Sumo Squat with a Twist: Squat as low as possible while keeping your back straight and hips open. Place your hands on your knees and twist your body, pointing one shoulder toward the floor, stretching both your shoulders and thighs simultaneously.


