FAQ
Auto Belay: What is an Auto Belay?
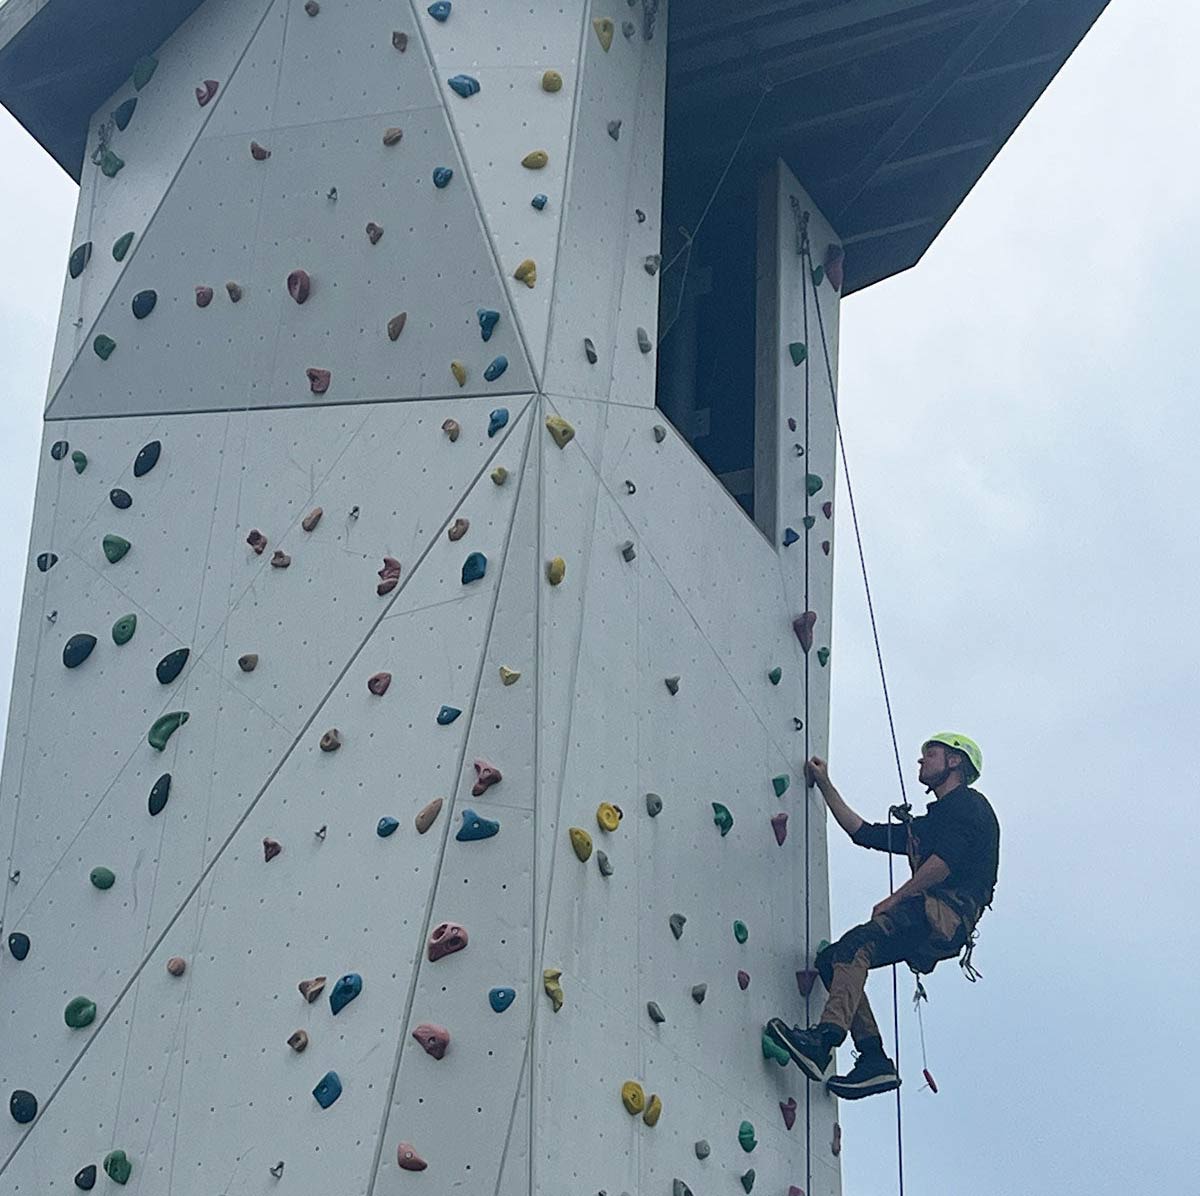
An auto belay is an automated belay partner, widely used on climbing walls across the country. These devices are used in climbing gyms, play centers with climbing walls, and training facilities.
Auto Belay: What safety standards does the Dyno unit comply with?
The Dyno Auto Belay is fully compliant with leading safety standards including:
EN341:2011 Class A
ANSI/ASSE Z359.4-2007
CSA Z259.2.3-99
(EU legislation) 2016/425
IFSA Speed Climbing
Auto Belay: How does this outperform other auto belays?
The Dyno auto belay from SafeClimb is the only device designed to take dynamic moves. This means it can be used to push the boundaries of your climbing facility and allow you to install a stairway to heaven or leap of faith experience.
The Dyno has excellent retraction speeds for the sport/speed climber wanting to push themselves further.
Auto Belay: What servicing support do you offer?
We provide comprehensive support for the Dyno throughout its entire lifecycle. When you choose our auto belay, you’re investing in ongoing, lifetime support. We offer a variety of service options—from on-site to workshop—to meet your facility’s needs, ensuring minimal downtime for your business.
Auto Belay: What is included in a service inspection?
The annual inspection is very comprehensive and includes:
- Visual inspection of all components
- Cleaning the inside of the unit
- Lubrication of moving parts
- Possible replacement of components (invoiced separately)
- Control of braking power, lowering speed and retraction speed
- Re-certification from SafeClimb
Climbing Facility: What are the requirements for fall surfaces in public places?
The requirements for fall surfaces in connection with climbing facilities in public places are described in the Playground Regulations EN 1176. In the Playground Regulations, the requirements for fall bases are calculated based on the height of the fall and also on the type of fall surfaces used.
Feel free to contact us with any questions regarding fall surfaces for specific climbing facilities. We are happy to provide advice and guidance on all inquiries.
Climbing Facility: What is the difference between a climbing wall and a boulder?
The word climbing wall is used interchangeably for both large and small climbing facilities. In the climbing world, a distinction is made between climbing on high walls and climbing on boulders.
Climbing on high walls, whether indoors in a climbing gym or outdoors on rock, requires safety equipment in the form of climbing harnesses, climbing ropes, belay devices and climbing shoes. And there are always two who climb together: one climbs, the other belays.
A boulder wall can be up to 14-15 feet high. When bouldering, you climb without ropes and harnesses, but with so-called crash pads to fall onto. For schools, institutions and public playgrounds boulders are typically max 3 metres tall and with an approved fall surface underneath (sand or other) in order to be establish as aclimbing facility. On the boulder you can be a larger group where everyone tries to solve the same problem / route.
DIY: What do I need to figure out before I build my climbing wall?
1) Height and width of the climbing area. Do not build a climbing wall at home taller than 2.5 metres
2) Do the climbing holds need to be screwed directly to the wall or will they be mounted on a board?
3) The type of wall to which the climbing holds / climbing boards are to be mounted:
- Brick
- Concrete
- Wooden wall (important, having access to the back of the wall)
- Drywall (we do not recommend placeding the climbing holds directly on the wall!)
DIY: Which boards should I choose for my climbing wall?
You can buy ready-made climbing board modules at Gubbies. They are ready to use and extremely easy to work with. So it's easy for you to build your own climbing wall. The boards are made specifically for climbing walls, and they are developed by some of Europe's most talented wall builders.
So by choosing ready-made climbing boards, you get a quality product where safety is paramount!
- The climbing boards are made of 15 mm birch plywood of furniture quality (11 layers) and they measure 124.5 x 83 cm (corresponding to about 1 sqm). With this format you can build climbing walls of all sizes, and they can easily hold a person.
- Coated with durable paint containing quartz sand, the panels have a perfect friction surface.
- On the back of the boards there are pre-installed T-nuts (30 pieces per square metre). The T-nuts we use are machine-mounted. The T-nuts are more powerful and there is no risk of pushing out the T-nuts if a climbing handle is screwed in crookedly.
Bonus info: the birch tree is a fast growing species of wood that is constantly replanted in our neighboring countries (the Baltic States, Finland and Russia). The use of this type of wood thus poses a minimal impact on the environment.
You can also make your own climbing boards. You will need 15mm or 21mm plywood sheets, which can be purchased at various hardware stores. The boards are raw and typically measure 125 x 250 cm (about 3 sqm). Additionally, you need paint and T-nuts (approx. 30 per square metre)
DIY: How do I make climbing boards myself?
You can make your own climbing boards. You will need 15mm or 21mm plywood sheets, which can be purchased at various hardware stores. The boards are raw and typically measure 125 x 250 cm (about 3 sqm). Additionally, you will need paint and T-nuts (approx. 30 per square metre).
- Cut the boards to fit the wall where they are to be mounted.
- Lay the plate face up and drill holes with a 12 mm drill bit. Calculate 30 holes per square metre. It may be a good idea to create a template so that the pattern of holes becomes uniform.
- Turn the plate over and hammer in the T-nuts from the back of the plate.
- Paint the plate in the desired color. Choose an oil-based, water-resistant and durable floor paint. If you want a rough friction surface, you may want to sprinkle a thin layer of sand on the board directly after the first layer of paint. Apply the second layer of paint when the first layer is completely dry.
DIY: Can I use MDF or OSB boards for climbing walls?
Neither MDF nor OSB boards are optimal for climbing walls. They are softer than the plywood we usually recommend for climbing walls, and they are also very vulnerable to moisture. This means that the climbing holds can twist loose after a short period of use.
DIY: How many climbing holds should I put up per square metre?
For children 2-10 years: 8-10 climbing holds per square metres.
Older children and adults: 6-8 climbing grips per square metres.
DIY: Which climbing holds should I choose for children?
Climbing holds for children must have rounded edges and good grip. Climbing holds that are especially suitable for children are jugs. Jug climbing holds come in various sizes. The fact that the climbing holds have good grip possibilities is more important than the size of the climbing holds themselves, as long as they are not too small. Mixing medium and large jugs on a climbing wall for children gives a good variety. If you have a large climbing area with over 30 climbing grips, you can increase the difficulty level and supplement with some small climbing holds / footholds.
DIY: What about fall surfaces and safety of climbing walls for children?
Climbing facilities in public places must comply with the playground regulations for safety and fall surfaces. It is not required in private homes, but we recommend the following for those who want to build a climbing wall at home.
- Do not build a climbing wall taller than 2.5 metres unless you use safety equipment in the form of climbing harnesses and ropes.
- To ensure quality and safety, we recommend using climbing boards for the climbing wall.
- Safety distance of 2.5 metres from the climbing wall, where there is no radiator or furniture.
- Always have a mattress lying under the climbing wall that the kids can jump down onto and land softly on.
Harness: What different types climbing harnesses are there?
Climbing harnesses can be divided into the following types:
1. Hip harnessesHere comfort and usability are the focus. 4 equipment loops, large, well-padded hip belt and well-padded leg loops.
2. Climbing harness for womenAgain, comfort and usability are the focus, but the dimensions of the harness are specially tailored for the woman's shapes. We have multiple climbing harnesses available designed specially for women.
3. Climbing harness for competition / glacier hiking / mountaineering etc.
Here, we focus on weight optimization. The harness should weigh as little as possible and give you the highest degree of freedom of movement. 2 or fewer equipment loops, narrow hip belt and narrow leg loops.
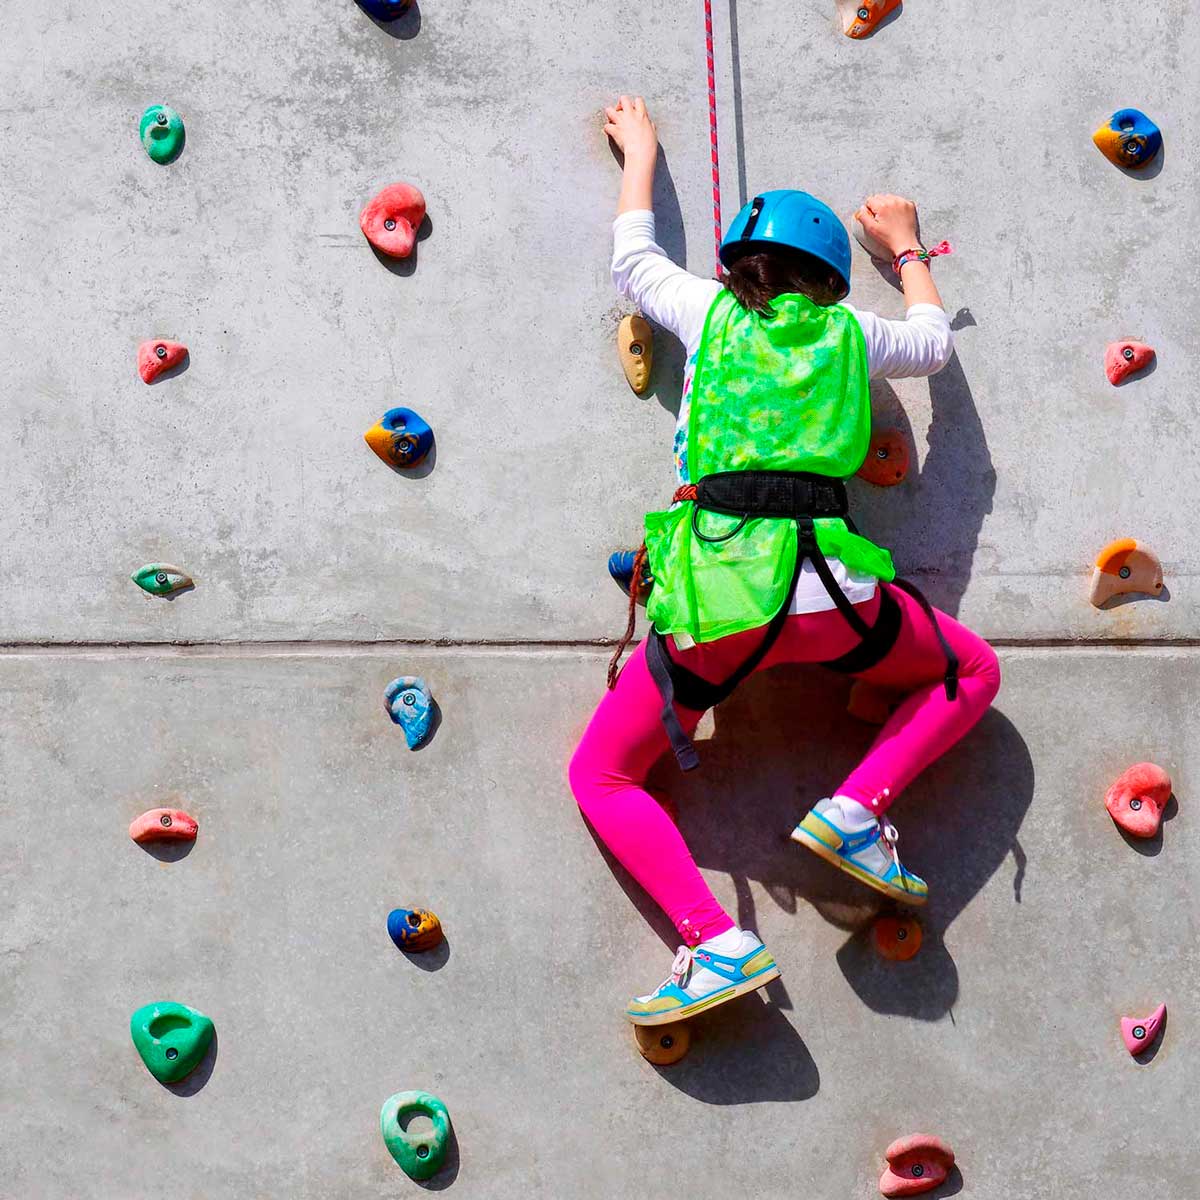
4. Whole body harness for children and special target groupsChildren have narrow hips and a different center of gravity than adults, so in order to ensure stability and prevent falling out of the harness during fall, the child harness has a higher securing point than the hip harness and it is equipped with shoulder straps.
5. Chest Harness
The chest harness is only used with a hip harness and in situations where there is a need to raise the securing point. Eg. during climbing or glacier hiking with a heavy backpack, here the person, due to the increased weight on the back, may be accidentally be cought in an undesirable manner during a fall.
6. The ’One-size’ harness
The 'one-size' harness is used e.g. in schools and institutions where it may be used by many different persons.
Harness: When should I discard my old climbing harness?
Manufacturers of climbing harnesses give different directions on how long their harnesses last before they should be discarded. Further, this may vary from harness type to harness type. In general, however, it can be said that nylon does not perish unless exposed to sunlight (ultra-violet light) or wet environments. Therefore, store your harness in a dark and dry place.
On all climbing harnesses the date of manufacture is given. A general guideline is that you should discard them after five years of use. However, whether the harness has been kept dark and dry for 10 years before does not matter. The five years are counted from the date the harness was put into service. However, we would like to point out that this is a general guideline and that the durability of all harnesses may vary from manufacturer to manufacturer and from harness type to harness type. Therefore, as a starting point, follow the manufacturer's instructions.
Ultimately, it is your responsibility that your harness is in good enough condition to use. Therefore, regularly check the harness for signs of wear and keep it in accordance with the instructions above.
Some climbing harnesses are made with a wear indicator. Ie an outer layer of durable nylon, over a red innermost layer of nylon which is resposible for the harness's strength. Gubbies recommend climbing harnesses with wear indicator.
Further information on safety requirements for climbing harnesses can be found on the International Climbing and Mountaineering Association UIAA's website www.theuiaa.org or by clicking here.
Harness: Which climbing harnesses are best for schools and institutions?
We recommend full-body harnesses for children between 100 and 140 cm (max 40 kg) and 'One-size' climbing harnesses for children, adolescents and adults.
Whole body harnesses are also available for adults, which may be relevant for special institutions.
Harness: Which climbing harness should I choose as a beginner?
Your first climbing harness
As a beginner, comfort is the most important thing. You will sit in the harness a lot and you will therefore want a well padded hip harness with well padded leg loops. As a beginner, make sure you buy a harness with a fixed size and not a "one-size" harness, as it easily becomes an annoyance with long loose hanging straps.
Holds: How to mount climbing holds on wood directly from the front?
It is possible to mount climbing holds on wood directly from the front, if you do not have the opportunity to get to the back of the wall and put in T-nuts. For this purpose, use a frame fixing screw. In our DIY category you will find a set of hot-dip galvanized 80 mm frame fixing screws.
Holds: How do I place climbing holds for children?
The distance between the climbing holds can vary depending on who is going to use the wall. We recommend setting 8-10 climbing holds per square metre for children from 3-10 years, and 6-8 climbing holds per square metres for older children and adults.
There can be different approaches to route setting, and if you are an experienced climber, you probably have your own. Here are two different suggestions on how to set a route when making a building a wall for children:
- Sort the climbing grips before you start mounting them on the wall. The climbing holds that have best to grip with both hands (jugs) are placed evenly over the wall at a height from the child's shoulder and upwards. It gives the child a good starting point for getting up the wall when the climbing holds with the best grip options are evenly distributed. The last climbing holds are distributed on the remaining part of the climbing wall, these are the footholds and and slightly more challenging holds on the hands.
- Another approach is to set the routes according to the child's movements. Here the child is an active part of the route setting. You start with a single foothold, let the child stand with his foot on it and then put two handles where it will be natural for the child to grasp with the hands. Now the child stands with one foot on a holds and with both hands on the wall. The next foothold should be placed where the free foot can reach and just slightly higher than the first foothold. Build on from here with alternating holds for hands and feet. If you have built the climbing wall out of climbing board modules with extra holes for climbing holds, the route building is a process that you can return to again and again and make the routes harder and harder as needed.
Holds: Do climbing holds come with bolts included?
Bolts for our climbing holds must be purchased separately. The reason, for not including bolts with the climbing holds, is that the length of the bolt needed depends on the wall opon which the climbing holds are to be mounted. For each individual product, we make every effort to state which bolts are to be used for individual wooden walls, brick walls or concrete walls respectively.
Holds: How do I put climbing holds directly on a wooden wall or wooden board?
The climbing holds are fitted with M10 bolts that are screwed into the T-nuts on the wooden board on which the climbing holds are to be mounted. The T-nuts are turned in from the back of the plate. If you put the climbing holds directly on a wooden wall, it is IMPORTANT that you can reach the wall from the back.
The length of M10 bolts may vary. Our climbing hold products are supplemented with recommendations for bolt lengths for wood, brick and concrete walls, respectively.
Course of action:
- Drill 12mm holes from the front of the board (we recommend a 15 to 21mm plywood board)
- Insert the T-nuts on the back of the plate
- If necessary, screw the battens on the wall where the climbing wall should be.
- Screw the climbing boards onto the battens or directly to the wall
- Screw the climbing holds to the climbing wall with an 8 mm allen key
Remember that if the wooden board is to be mounted directly on the wall, it is important that the bolts with which the climbing holds are mounted do NOT protrude on the back of the wooden board. Therefore, be careful when choosing bolts. Know the thickness of the wooden board.
One advantage of making climbing walls made of plywood sheets is that you can make extra holes with T-nuts. It allows you to move around the climbing holds and make new routes after the climbing wall is set up. On the ready-made climbing boards we sell at Gubbies, there are 30 holes per square metre.
Tools and equipment:
- Plywood sheets: 15 mm or 21 mm
- potential battens (4x4 cm) to the back of the climbing plate modules
- T-nuts
- M10 bolts
- Drill with 12 mm drill bit
- Hammer (for installing the T-nuts)
- Allen key size 8 for tightening the climbing holds
- Saw, if you need to cut the boards
Holds: How do I put climbing holds directly on concrete?
The climbing holds are fitted with M10 bolts. These are screwed into concrete anchors on the wall on which the climbing holds are to be mounted.
The length of the M10 bolts may vary. See our different sizes here.
Our climbing holds products are supplemented with recommendations for bolt lengths for wood, brick and concrete walls, respectively.
Course of action:
- Make sure the surface is level (climbing holds may crack if they are fastned on an uneven surface)
- Drill holes with a 12 mm brick drill bit
- Push the concrete anchors into the holes with your finger so the edge is 2-5mm inside
- Use a mandrel or other blunt object to knock the pile inside the anchor to the bottom (thus expanding the anchor and jamming it)
- Tighten the climbing grips with an Allen key 8 mm
Tools and equipment:
- Concrete Anchors
- M10 bolts (stainless bolts if climbing will to be installed outside)
- Drill with 12 mm brick drill bit
- Hammer and mandrel to hit the concrete anchors
- Allen key size 8 to fasten the climbing grips
Holds: How do I put climbing holds directly on brick wall, air bricks or aerated concrete?
The climbing holds are mounted with 8 x 80mm screws with nylon plugs on the wall on which the climbing holds are to be mounted. Our climbing hold products are supplemented with recommendations for bolt and screw lengths for wood, brick and concrete walls, respectively.
Be aware of unevenness between the joints and bricks before mounting the climbing holds. If possible, hold the climbing holds on the brick wall and check that it will not rock back and forth. If theclimbing hold is screwed onto an uneven surface, there is a risk that theclimbing hold will crack when tightened. You must also be careful not to screw the holds into a joint, they must be mounted directly in a brick.
Course of action:
1) First drill a 10mm hole in the wall. max 80mm deep.
2) The hold is placed over the hole.
3) The nylon rawlplug is inserted into the climbing hold until the collar of the plug is fully inside the hold.
4) The screw is inserted and screwed in all the way in until the hold is firmly secured.
Tools and equipment for mounting climbing holds:
- Screw set 10 pcs 8 x 80mm screws with nylon plugs
- 10 mm brick drill
- Torx 40 bit
Holds: How do types of climbing holds differ?
If you are not quite sure of the difference between the many different types of climbing holds, it can feel very confusing to choose the right ones. Here is a list of examples with a short description:
Jugs are cup-shaped climbing holds that can be held with the whole hand. It provides a good grip and feels safe when moving your hands from one hold to another. Jugs climbing holds are super suitable for beginners and for children.
Slopers are large climbing holds that must be held with the palm of your hand open. There are no pockets or recesses that the fingers can grip. Sloper climbing holds can only be held through the friction between the hold and the palm. Slopers are quite advanced climbing holds and require a lot of experience in climbing.
Pinch climbing holds you have to squeeze to hold. It takes a little technique to grip the hold. Pinches can vary in size from small holds, where you only have to squeeze with your thumb and indexfinger to larger holds that fill the entire palm.
Pocket climbing holds only have room for a finger or two. The small pockets place great demands on finger strength and technique, and they are not recommended for beginners. Some pocket climbing holds have two pockets so they can be helds with two hands.
Crimps are very small climbing holds that are held with an almost closed hand and the fingertips pointing downwards. Crimps are tough !! Crimps are essentially just small edges that you can only just hold with your fingertips.
Edges can be seen as a cross between jugs and crimps. They are, unlike jugs, pretty much completely flat. On the other hand, they can be so large that there is room to get all the fingers of both hands on the holding surface.
If you want to know more about the different climbing grips and how to hold them, you can read more on our blog HERE!!!
Mats: Why can’t a regular gym mat be used for climbing facilities?
Ordinary mattresses for gymnastics are often very soft. When climbing and bouldering, you need a firm surface that you can walk on, but which also softens falls. That's why our climbing mattresses are made up of two different types of foam - a soft one at the bottom and a harder one at the top.
Shoes: Which climbing shoes should I choose as a beginner?
1. The first pair of climbing shoes should be a pair of all-round shoes
2. They must sit tight, but not hurt
3. They should have a good and thick front and preferably be made of a harder rubber
4. They should have good and stiff support in the forefoot.
The first climbing shoes should be a pair of "all-round" shoes with a stiff sole and a high heel cap for good support. As a beginner, you may not have decided which type of climbing is you favorite, and you would therefore like to be able to try out different types of climbing. Both outdoors and indoors, and both hard short boulder problems and long rope climbing routes, where you spend a lot of time on the wall. Therefore, it is important to have an All-round shoe that lets one experiment with different types of climbing.
When trying the climbing shoes, be sure to try them with bare feet so you can feel if something bothering the foot.
Shoes: What is the difference between "slippers" and climbing shoes with laces and velcro?
To be able to put on and take off the climbing shoes quickly many boulder climbers prefer a climbing shoe with either velcro closure or slipper type shoes. In contrast, laces are better for securing the shoe's fit throughout the foot, which is better suited for rope climbing and climbing trips.
Shoes: Should I Buy Climbing Shoes for Kids?
We are often asked if it is a "nice to" have or "need to" have when it comes to buying climbing shoes for children. For a start, young children can easily climb in bare toes, socks or tennis shoes, but if he / she has gotten hookes by climbing on the climbing wall in the climbing gym, climbing shoes will make the climbing experience much nicer.
If you are going to buy climbing shoes for children, you must be aware that the stated dimensions of the sizes are very tight and that children grow and the climbing shoes therefore quickly become too small. For children, we therefore recommend that you add 1 cm to the child's foot length. More and more climbing shoes for children are being designed so that they can be adjusted to cover two shoe sizes. This means that the child can use his / her shoes for an extended period of time.
Shoes: How do I choose the right climbing shoes?
Finding the right climbing shoes is a balance between comfort and performance.
Your first pair of climbing shoes should be comfortable and sit tight, but without being uncomfortably so. If they are not tight enough, the support for the foot and the feel of the wall / holds can be diminished to a degree that impedes your climbing. If the climbing shoe is not tight enough around the tip of the toe, the support for the toes may not be adequate when you stand on a small hold. The shoes will bend and you will lose your footing. The tighter the shoes are, the easier it will be for you to stand on very small footholds. But if they are too tight, the pain can ruin your entire climbing experience.
If you are mostly into bouldering, you may want to buy a pair of climbing shoes that sit a little tighter than you would otherwise like for rope climbing. During bouldering, one does not typically wear the climbing shoes for as long. When you are on the boulder problem, you have the climbing shoes on and when you are not climbing you can either pull the heel down or take them off completely.
Your go-to climbing companions!
JUST REACH OUT
At Gubbies we are a team of dedicated individuals each with various experiences with climbing, product development and designing climbing facilities. Don't hesitate to reach out if you have any questions or if you need an advise or input for your next climbing adventure.
CALL US +45 4012 4263
Design & Project Partner
Professional assistance throughout the project - from fledgling ideas to an enjoyable climbing facility.
Annual Service Inspection
Keep your climbing facility and security devices in the best condition with an inspection from our experts.
Get a Quote
We work with specializes high-end brands and are your go-to supplier for all things climbing!
Customer Service
Reach out Monday to Friday at 8am to 4pm at +45 4012 4263 or email us at any time at info@gubbies.com